
The cameras of smartphones have improved so much that great shots can be taken not only in daylight, at night, but also in rain, cloudy day and even underwater. We no longer need heavy cameras when we go on vacation or to an event. Although smartphones have great cameras, it’s up to the user. We touch on the tricks of taking beautiful photos with the phone, especially on vacation:
How to recover water falling phone? Here’s what you need to do
1. Invest in a mobile photo device
“Shot with iPhone” commercials seem a bit exaggerated. The videos may have been shot with an iPhone, but the phone alone won’t work. Mobile photography gear is extremely versatile and compact. Investing in key pieces will also improve the quality of your vacation photo or video. You should definitely put the following in your bag:
- Tripod: The shaking camera cannot take good photos or videos. You should definitely get a tripod. Tripods come in different sizes, some even small enough to fit in your pocket. Selfie sticks usually include a folding tripod in the handle, and they also come with a Bluetooth shutter button. A gimbal is great if you plan to shoot video. Tripods with bendable legs are great for travel because you can set them upright or simply place the tripod legs on a chair armrest, tree branch, etc. when there is no flat surface. You can wrap it around.
- Portable charger: A major drawback of smartphones is their short battery life, which decreases rapidly as you use the camera and edit. You should get portable chargers from Anker, Belkin or any other brand that have enough power for two or even three full charges. If you don’t want to carry any other equipment, a phone case with a built-in battery (battery-powered cases) is another great option.
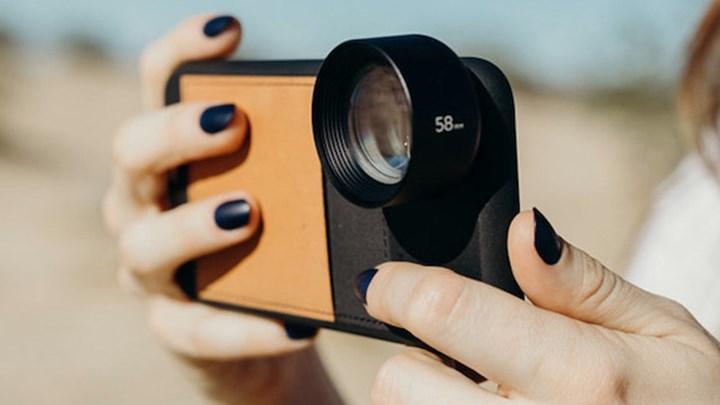
- Lens parts: Lenses for phone are very small and come in several different focal lengths to add variety to your shots. State-of-the-art lenses like the Moment lens are really impressive and can be easily attached to a phone case. Clip-on lenses are a more affordable but still effective option. You can look at lenses from Aukey or Olloclip. Precision is very important with clip-on lenses, you need to perfectly center the lens over the phone lens.
- Backup storage: Smartphones offer limited storage. You may think cloud storage is a great option, but we all know that it can be difficult to find a strong WiFi connection when traveling. You can solve the problem with a mobile flash drive or hard disk. SanDisk, Western Digital offer drives that connect to your phone and stream media via mobile apps.
- Waterproof case: If you are going to participate in any water activity, it is useful to buy a waterproof case and bag.
2. Use the built-in camera features
Smartphone cameras have great built-in features not found in the typical camera. You just need to know how to use them. Take the time to familiarize yourself with your device before your trip and learn all the settings at your fingertips:
- Grid: Turn on the grid feature to easily frame your shot using the rule of thirds and golden spiral techniques.
- Burst mode: To get the best shot if the subject is moving, burst mode takes a series of dozens of photos in a row.
- Portrait mode: The portrait mode feature works best when taking portraits of the subject in front of simple backgrounds or when there is a good distance between your subject and the background.
- Time-lapse video: Stabilize the phone with a tripod or phone stand and record in time-lapse mode for as long as it takes to achieve the desired effect. Camera app automatically converts video to high speed time-lapse video.
3. Shoot from different angles
It’s always better to take more photos than necessary, but don’t always take them from the same angle. Move around to change perspective and shoot from many different angles. Be creative; straight, sideways, close up, below… Make sure to use both horizontal and vertical orientation.
4. Find natural light
Accept that the light is out of your control. Learn how to use available or natural light to make your subject stand out. You are lucky; Smartphone cameras do most of the lighting automatically. There are a few simple tricks to make it even better:
- Don’t stay still. Never use the camera flash on a sunless day. Adjust the exposure (brightness) of your shot by tapping your screen and dragging it up or down. It’s better to take slightly underexposed (darker) shots, then brighten them while editing.
- Use the time of day to your advantage. Certain times such as the golden hour (the hour after sunrise and before sunset) and the blue hour (the hour before sunrise and the hour after sunset) are known to create beautiful natural light.
- Do not be afraid of severe light, clouds and bad weather. Each scenario can add a unique element to the photo and make the color pop.
5. Do not zoom in
Digital zoom enlarges the subject but is limited to the megapixels of the device. Zooming in the smartphone reduces the pixels of the frame and lowers the image resolution. As you get closer, the pixels get larger, causing the image to be less sharp, more pixelated. Use the smartphone’s native digital zoom to get closer or find a way to zoom in rather than sacrificing image quality. Using lenses is a good alternative and you can crop and edit later.
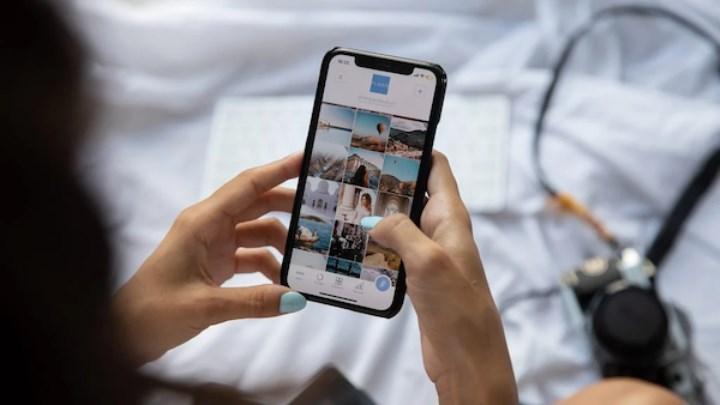
6. Edit photos
Yes, you should definitely edit your photo. Every photographer and cinematographer edits their shots, and so should you. Cameras are not designed to produce perfect color images, so editing is required. The aim is to organize the image in a way that does not change its meaning. Adjusting details such as color, brightness and contrast helps improve the tone of the picture.
Use photo editing apps instead of filters. There are many impressive photo and editing apps, both free and paid, that make editing so easy. Adobe Light also has a camera feature. SnapSeed is another free and user-friendly application. VSCO is still a viable app with both free and paid version.


