Adding Celo network to MetaMask wallet is done in 3 easy steps. The app has served as an important gateway in the blockchain and cryptocurrency ecosystem since its initial release in 2016. With over 30 million active users currently, the platform is a preferred wallet for EVM-based assets.
Metamask has attracted attention due to its easy installation and usability for almost any device and browser. It is often the first port of call for new cryptocurrency users. One of the reasons the platform is so popular is that it supports a wide variety of different blockchains thanks to its “Add Network” feature. So users can add support for over 50 different blockchain mainnets and testnets.
Note: MetaMask only supports EVM-based entities. To interact with non-EVM chains such as Solana, Terra, Waves or Near, you need to obtain a separate local wallet.
How to Add Celo Network to Metamask?
To add CELO to the Metamask wallet, it is first necessary to add the Celo blockchain network onto the application. Celo can be added to Metamask in 3 steps. To add a new network, you must provide the following data:
- Name: The name of the blockchain you want to interact with. (For example BNB Chain)
- RPC URL: The RPC URL is the address of the set of protocols MetaMask can use to interact with the target blockchain.
- Chain ID: Each network has its own unique chain ID used to identify it.
- Currency symbol: This is the marquee that MetaMask uses to display the balance for the network’s native coin, for example BNB.
- Block Explorer URL (optional): The URL for the network’s block explorer.
To manually add a new network to MetaMask, go to “Settings” by clicking on your account avatar in the top right corner of the plugin.
Here, find the “Networks” option and click the “Add New Network” button to open the required interface. Below you will find the necessary data for the 20 most popular EVM chains. Enter the ones you need and click the “Save” button to add them to your MetaMask.
Once added and logged in, you can select the new network from the drop-down menu at the top of the MetaMask interface.
Adding Celo network to MetaMask wallet is done in 3 steps as follows:
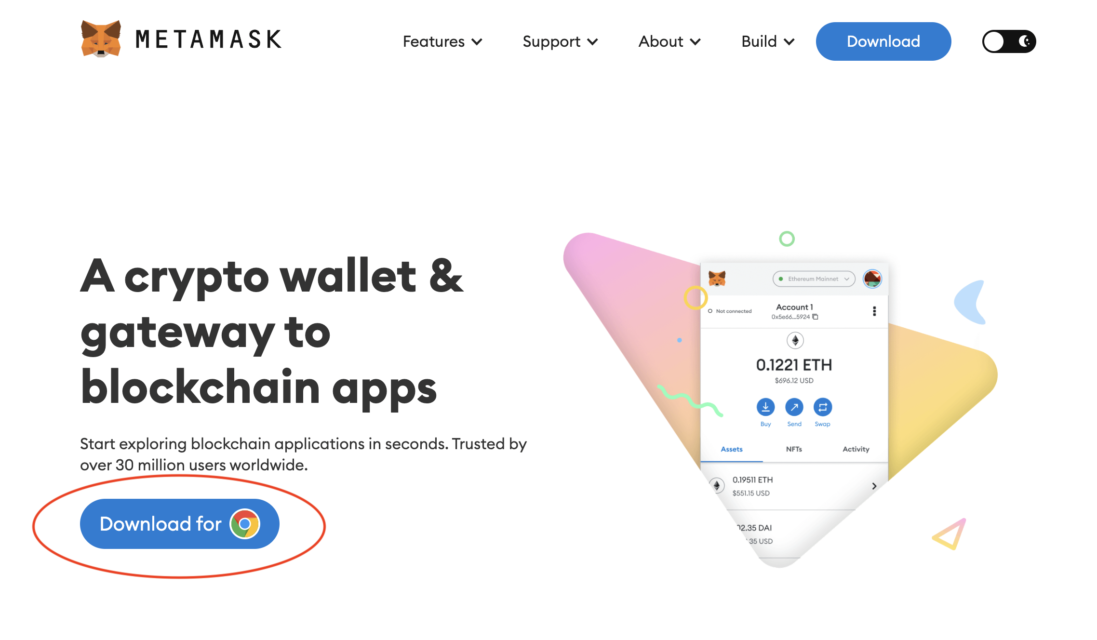
Step 1: Install Metamask
First of all, you should set up Metamask wallet in the web browser. After downloading the app, it will appear as a MetaMask extension and can be easily accessed via “Settings” in Google Chrome.
Step 2: Install Celo in Metamask
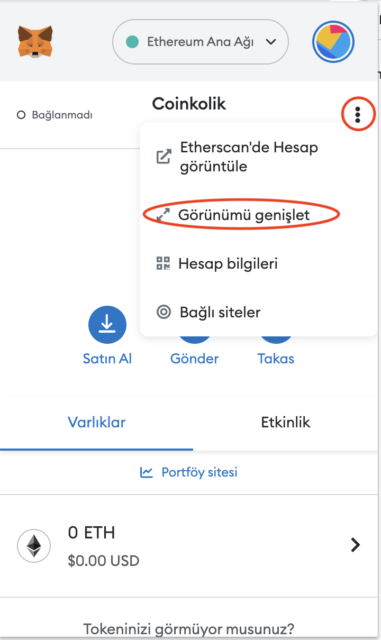
After installing Metamask, the next step is to set up the Celo network in the wallet. For this, you must first open Metamask in a new browser tab. (Just click on the Metamask logo in the upper right extension area.)
Click on the three dots in the top right and select “Expand view”.
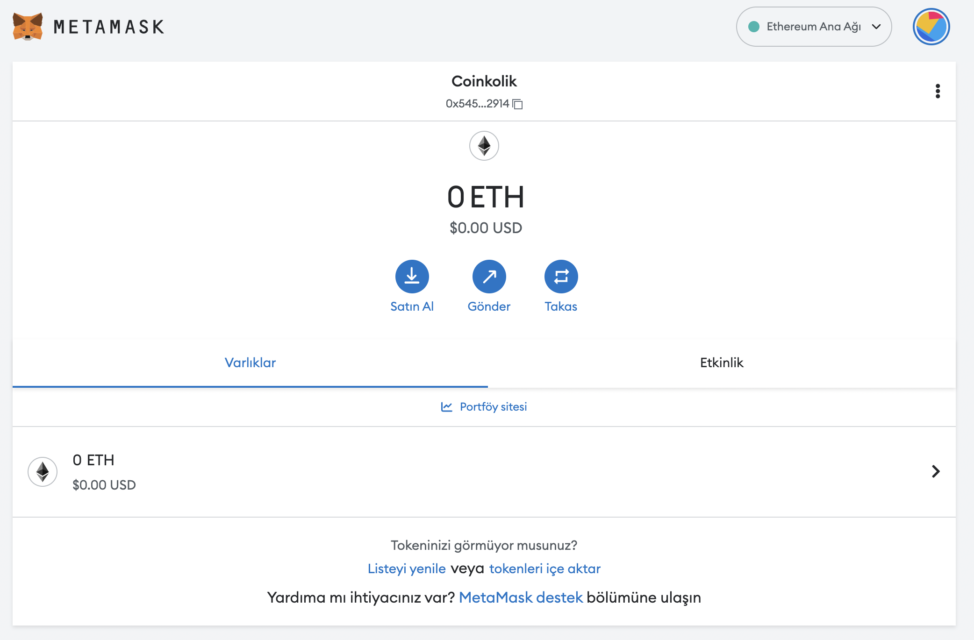
Your wallet will open in a new browser tab like this:
Then go to the circular logo in the upper right to add a new mesh.
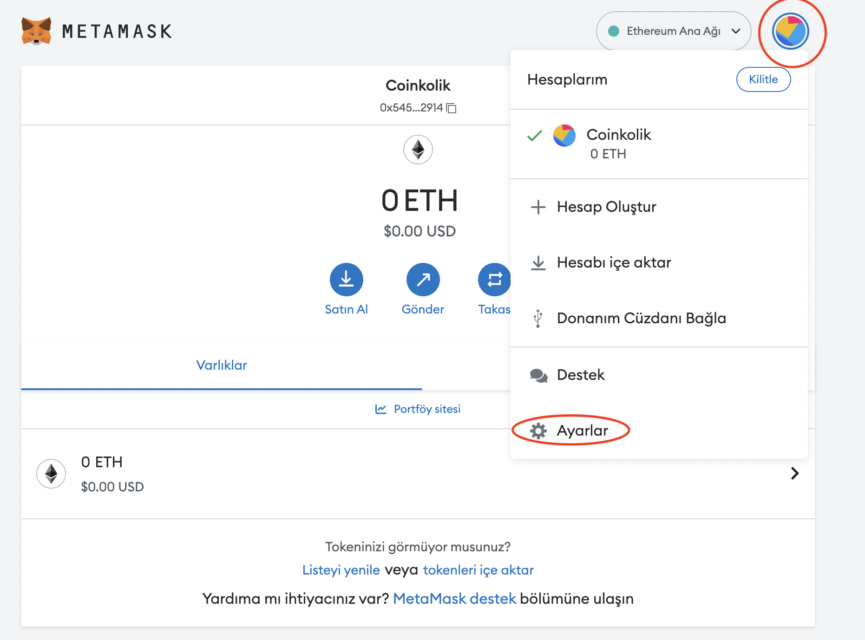
Then go to “Settings” and “Networks” respectively.
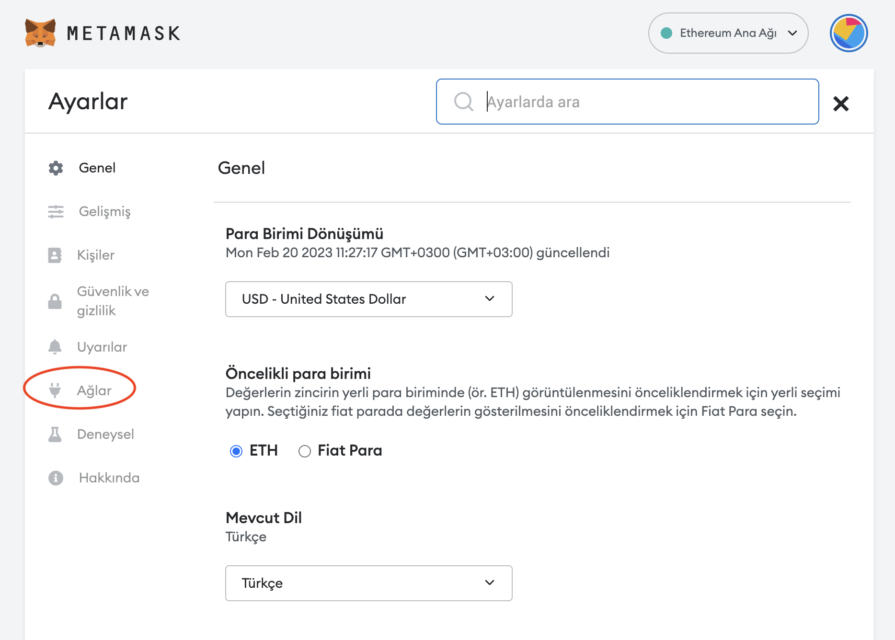
Once you get to this screen, select the “Add network” option.
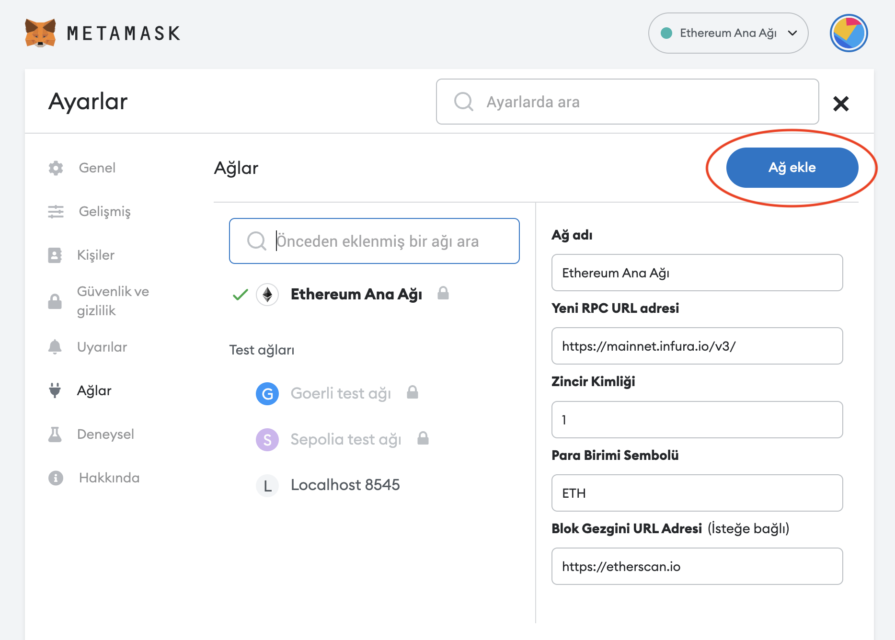
Here you need to enter all technical information about the Celo network. Technical information is available on Celo’s official website.
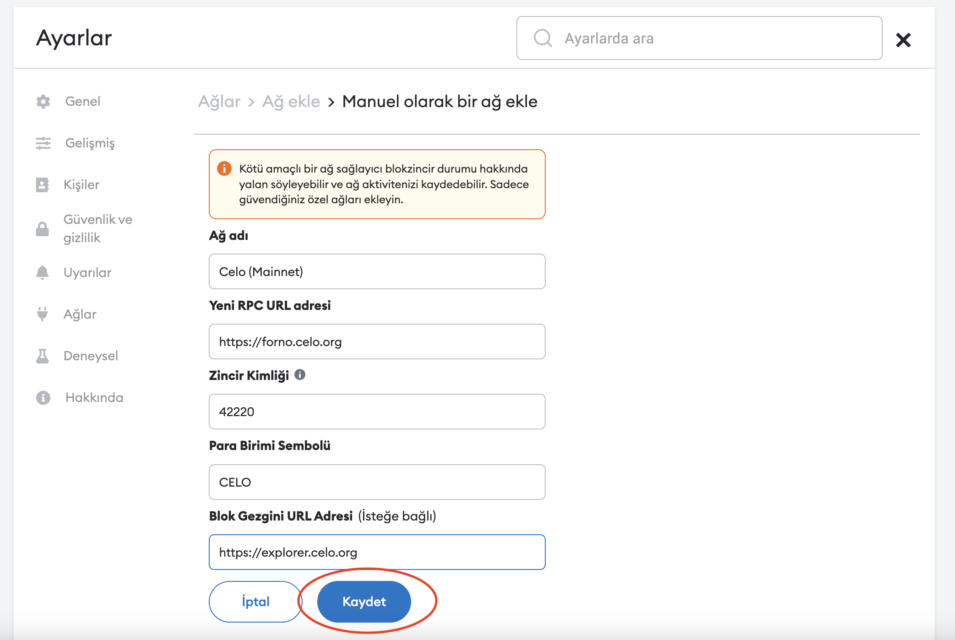
You need to add the following information:
- Network name: Celo (Mainnet)
- New RPC URL: https://forno.celo.org
- Chain ID: 42220
- Currency Symbol: CELO
- Block Explorer URL: https://explorer.celo.org
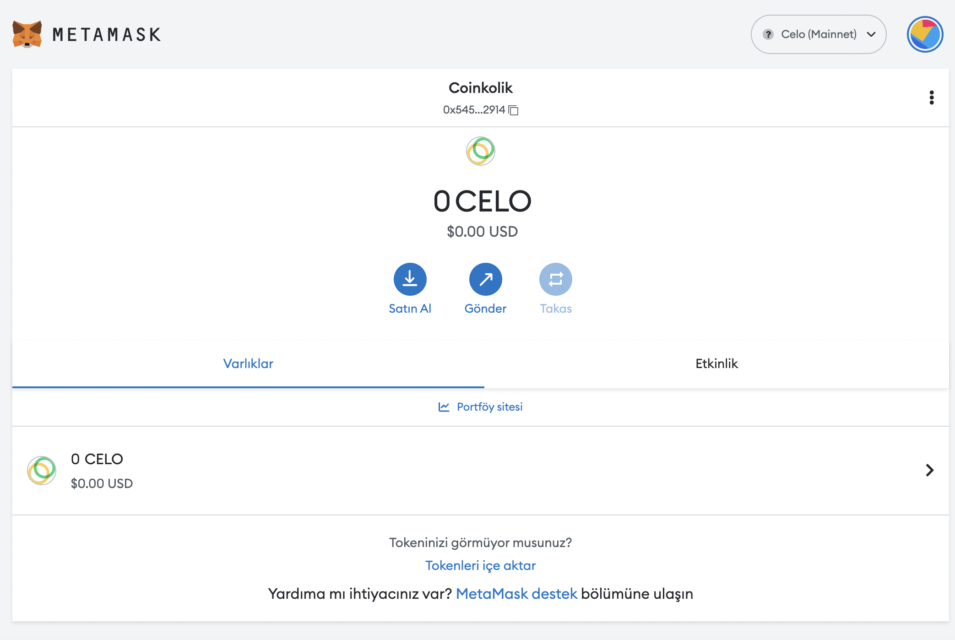
After entering the information, simply select “Save”. You will be redirected to your wallet where you will see the Celo network added.
The wallet view will look like this:
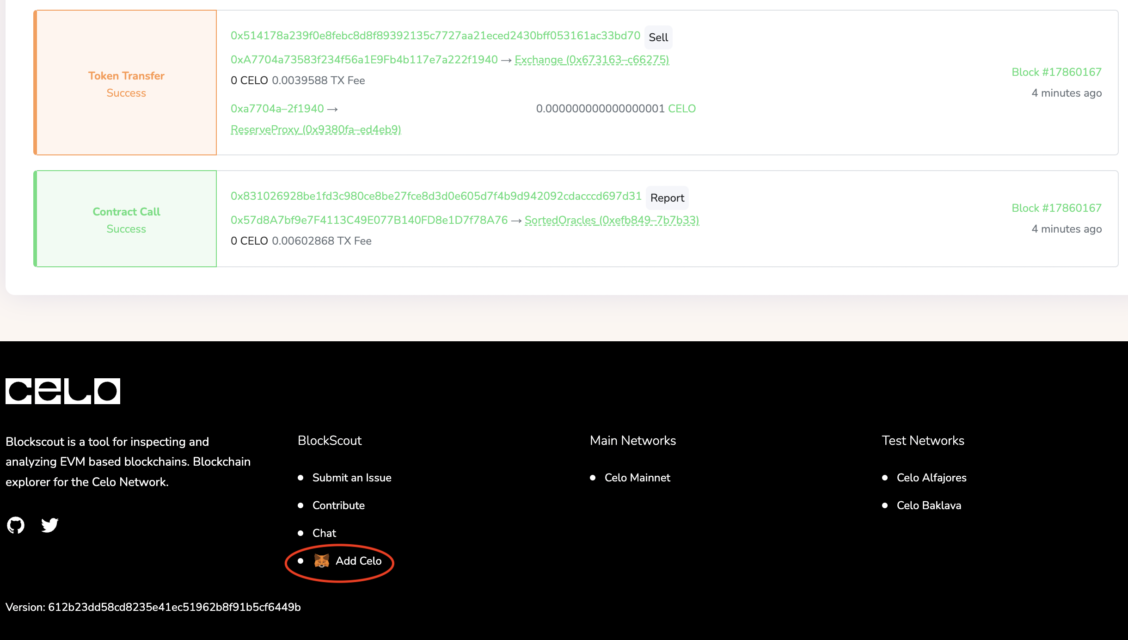
Another method is the automatic addition to the wallet option at the bottom of the Celo Explorer website, which is added to the “Block Explorer URL Address” section. After clicking “Add Celo” at the bottom of the main page, the Celo network will be added to MetaMask.
Step 3: Transfer AVAX Coins to Metamask
The final step will be to transfer CELO coins to the Metamask wallet. You can easily make this transfer by going to the cryptocurrency exchange you use and adding coins.
After purchasing the desired amount of CELO, you must go to the spot wallet and click on the “Withdraw Crypto” option.